
Tutorial
Set your working directory
You first need to set your working directory in the Digitizer application.
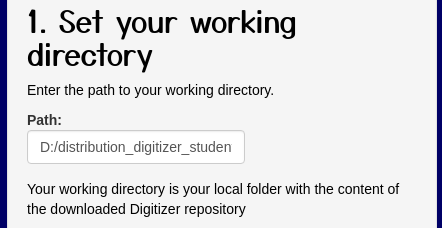
Paste the path to your working directory in the field “Path”.
Make sure that you,
- do NOT include in the path,
- quotation marks,
- empty spaces,
- special characters,
- use / and not \ to separate folders, and
- that your path ends with /
Create templates
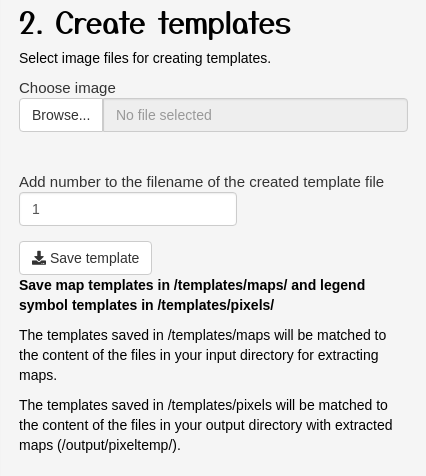
Choose images for selecting areas, which you can save as separate template files.
Save map templates in /templates/maps/ and legend symbol templates in /templates/symbols/
The templates saved in /templates/maps will be matched to the content of the files in your input directory for extracting maps.
The templates saved in /templates/symbols will be matched to the content of the files in your output directory with extracted maps (/output/classification/matching/).
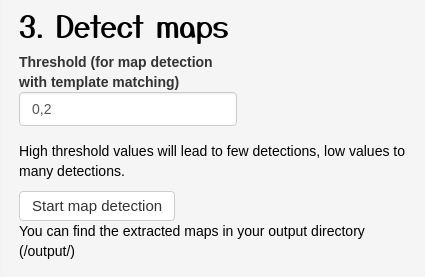
Detect maps
Prerequisites
- Make sure that your input files are in data/input/
- Make sure that your template files are in data/templates/maps/
- Ensure that the output directory is empty (there might be files from previous Digitizer runs).
Execution
- Check if the working directory is correct again.
- Press “Start map detection”.
- Check the data/output/ folder for the results. Also try different threshold values. High threshold values will lead to few detections, low values to many detections.
- The expected results in the output folder are (in this case) all cropped maps from the images in the input directory.
- With the current version, you have to delete all duplicated or noisy images in the data/output folder manually. Will be automated in the future.
Classify points on maps
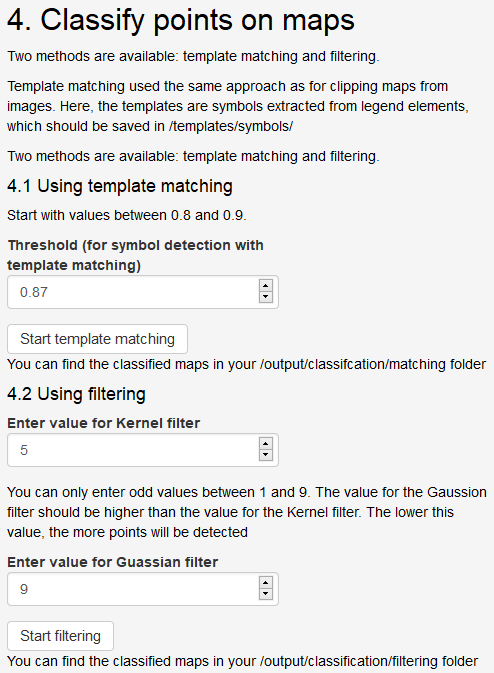
Two methods are available: template matching and filtering.
Template matching used the same approach as for clipping maps from images. Here, the templates are symbols extracted from legend elements, which should be saved in /templates/symbols/
Two methods are available: template matching and filtering. Both use the files in data/output/ as input.
Template matching
You first have to set a threshold value between 0 and 1 for template matching. Start with values around 0.75.
High values will lead to few detections, high values to (too) many detections.
You can find the classified output in your /output/classification/matching/ folder.
Filtering
Detecting elements on maps with filtering does not require template files. Instead, you have to specify parameters for the Kernel and Gaussian filters.
Note:
- You can only enter odd values between 1 and 9.
- The value for the Gaussian filter should be higher than the value for the Kernel filter.
- The lower the value for the Gaussian filter, the more points will be detected.
- As a rough guideline start with 5 for the Kernel filter and 9 for the Gaussian filter.
You can find the classified output with the occurrence points marked in blue in your /output/classification/filtering/ folder. These files will subsequently be used for geo-referencing.
Georeferencing

Use the Ground Control Points (GCPs) you obtained using QGIS as input for this step. See the “theoretical background” page for details.
You need to have a file with GCP points in /templates/geopoints/ with the ending .points. The expected format is the default export of GCPs from QGIS containing the columns mapX, mapY, pixelX, and pixelY. In some cases, the first line of .points file might be “Information of SRC and projection”. In such cases, remove the first line manually. The first line should be the column names of the points.
When you press the “Start georeferencing” button, those GCPs will be applied to the classified maps in your /output/classification/filtering/ folder.
You can find the georeferenced output as GeoTif files in output/georeferencing/
Postprocessing

Enter the value of Kernel Filter once again to filter out the non-filled dark occurence points from the image. The output of this step will be a black and white image mask containing the points. Adjust the value of kernel until all the noises have been filtered out and all the points have been detected. Start from the value that was used in step 4.2. and increase or decrease the kernel filter value according to the desired output.
Once you get the desired output in the data/output/mask/non_georeferenced_masks/ folder, then georeference the masks by selecting “Georeference the masks” the button. The georeferenced masks will appear on /data/output/mask/georeferenced_masks/ folder.
The final step will be extracting the centroid points of the contour of these masks. Once you select “Extract the points” button, the output can be found on data/output/mask/georecords.csv file.
Remember!, the kernel filter value you enter in this step will be applied for the step 6.2. and 6.3. The kernel filter value from step 4.2. and 6.1. doesn’t have to be same. In both the cases, you should decide the kernel filter value based on the output.